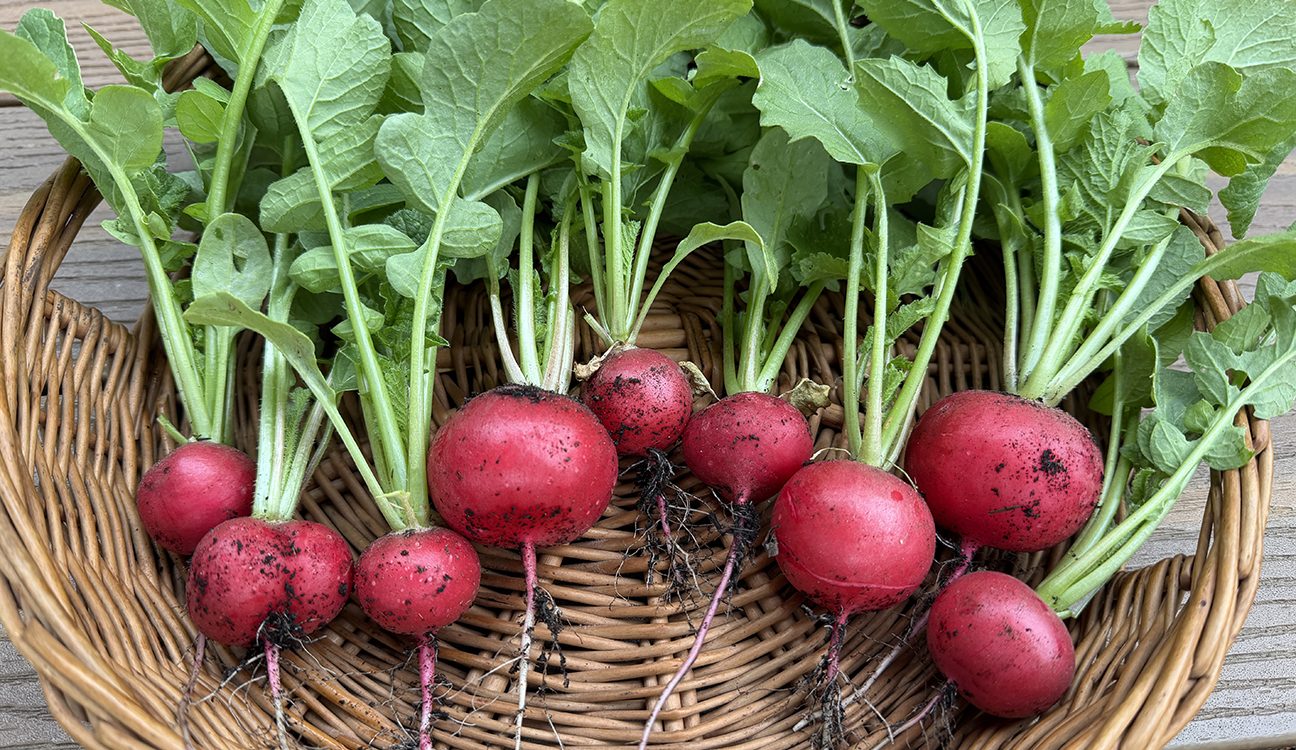
Radishes harvested from my raised beds
How to Grow Radishes: Spring’s Fastest Harvest
There is nothing simpler to grow in a home garden than radishes. They are fast, reliable, and perfect for beginner gardeners. For your best chance of success, read on before planting.
Many people think they don’t like radishes because the only ones they’ve tried come from the small bags of red radishes at the grocery store. Those radishes are often overly sharp and sometimes woody, largely because they are mass‑harvested for commercial distribution and sit for some time before being sold.
The main reason to grow your own radishes is taste. When harvested at peak size and freshness, homegrown radishes are crisp, mild, and flavorful. Once you’ve tasted a radish straight from your own garden, you’ll want to grow them year after year.
When to Plant Radishes
Radishes are a cool‑weather crop. They thrive in temperatures between 50–70°F, but they can tolerate cool nights and even an occasional late frost.
If you garden in Zone 7, radish seeds can be planted directly into the garden in early to mid‑March. Because radishes grow so quickly, they are an ideal crop to start the spring gardening season.
How to Plant Radishes
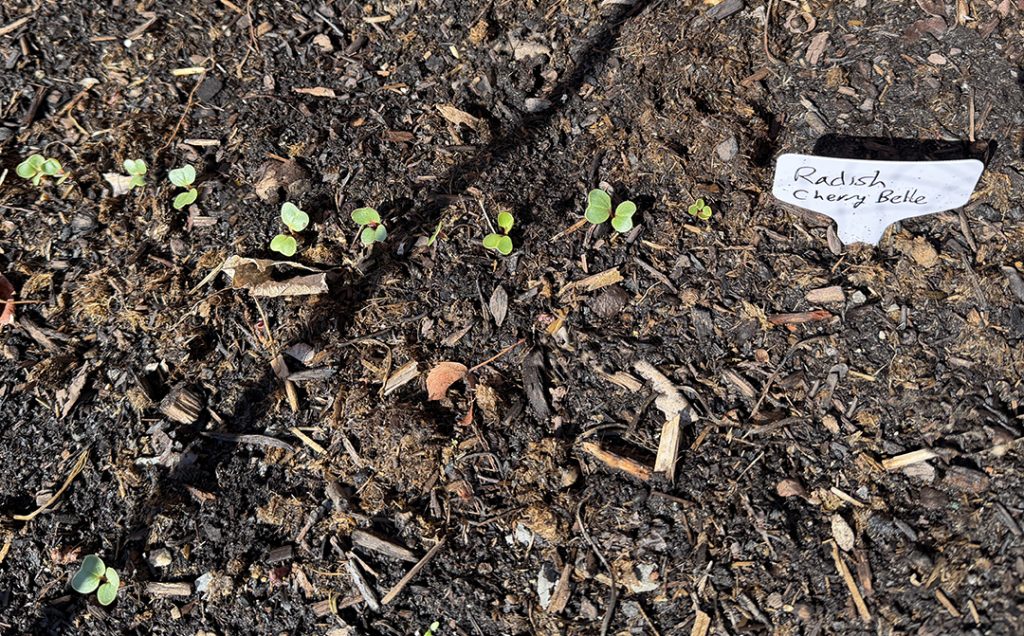
Radish seeds are very small, which makes it tricky to sow them at the ideal spacing of 3–4 inches apart—a distance that allows the underground bulbs to fully develop. Seeds should be planted about ¼ inch deep in the soil.
You can plant radishes in one of two easy ways: scattering seeds or using seed tape.
Scatter Seeds
One method is ccattering seeds lightly in rows spaced 6–8 inches apart directly in the soil. Once the seeds germinate and the seedlings reach about ¼ inch tall, you’ll need to thin them so that each radish plant is at least 3 inches apart.
This thinning step is essential. If seedlings are left too close together, the radish bulbs will not properly form below the soil.
Use Seed Tape
Seed tape is another easy option and can be purchased pre‑made. Amazon affiliate link Radish seed tape .
Simply plant the tape in rows spaced 6–8 inches apart. The seeds are already evenly spaced, removing the need for thinning later.
Seed tape is made from biodegradable paper that breaks down naturally in the soil, leaving each seed perfectly positioned for successful spacing.
When to Harvest Radishes
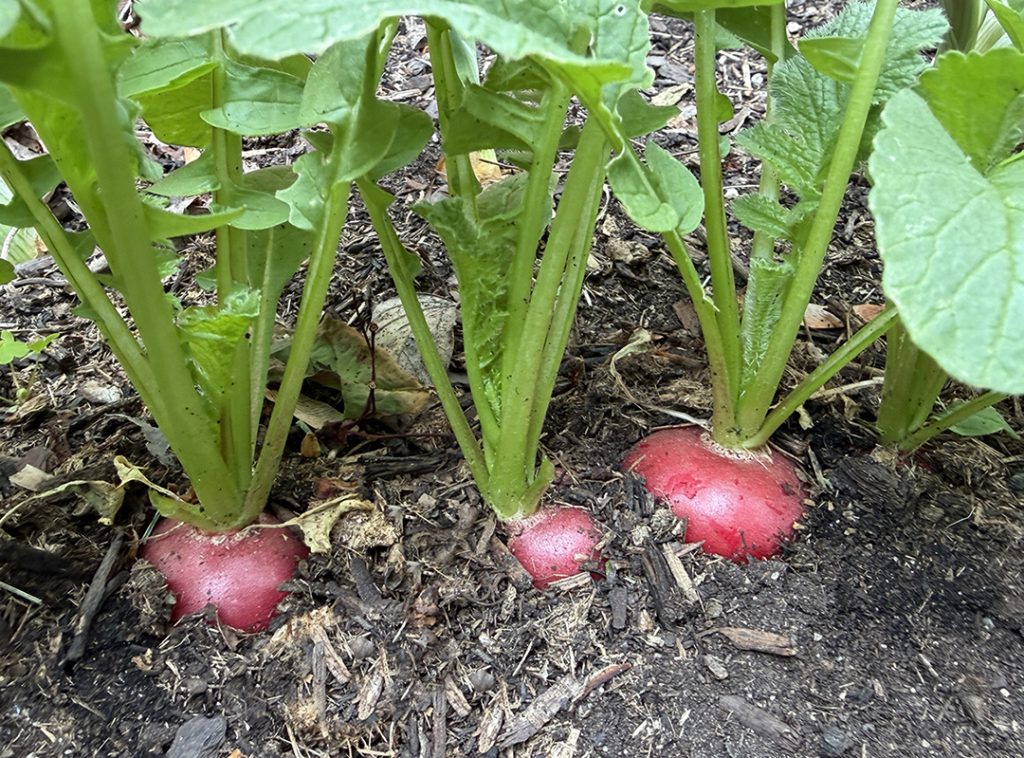
Keep track of your planting date. About three weeks after planting, begin checking your radishes closely.
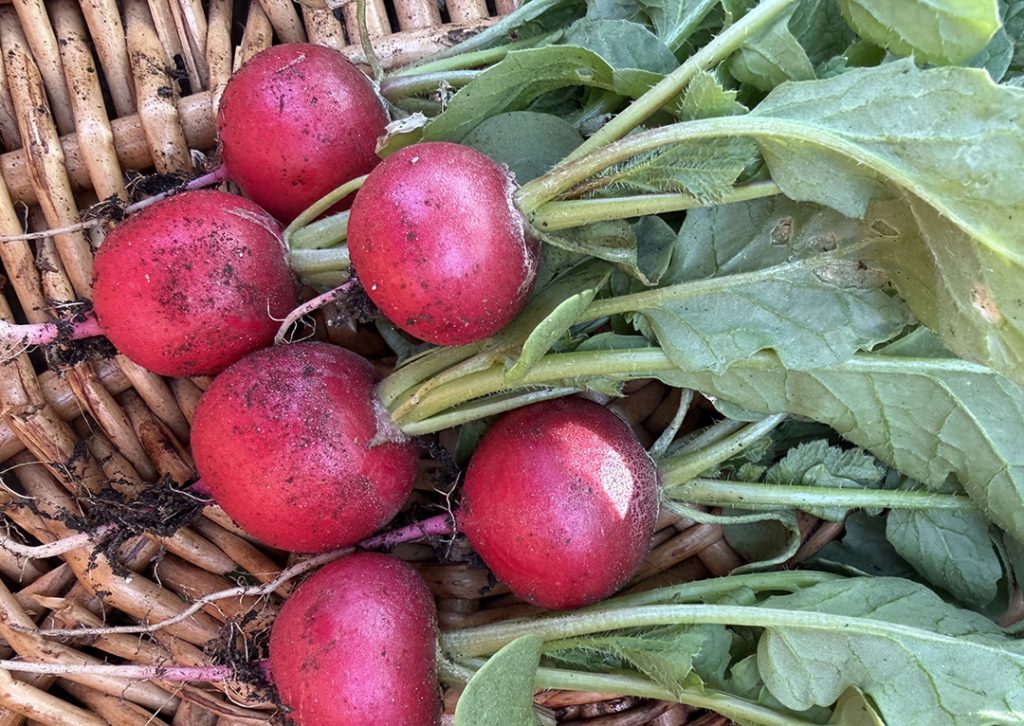
Radishes are ready to harvest when you see the red bulbs pushing up through the soil and they are at least ½ inch wide. Avoid letting them grow larger than 1 inch in diameter, as radishes become sharper and less pleasant in flavor as they oversize.
For a longer harvest period, plant radish seeds every few weeks. This technique is called succession planting, which allows you to enjoy fresh radishes over an extended period.
How to Use Radishes
The best way to enjoy radishes is raw. Add them whole, halved, or thinly sliced to salads. They also make a great finishing garnish for main dishes when sliced paper‑thin. A light sprinkle of salt helps bring out their unique flavor.
Don’t Forget the Greens
Radish greens are completely edible. They add a slightly spicy note to fresh salads and pair well when mixed with other spring greens such as kale, arugula, spinach, and lettuce.
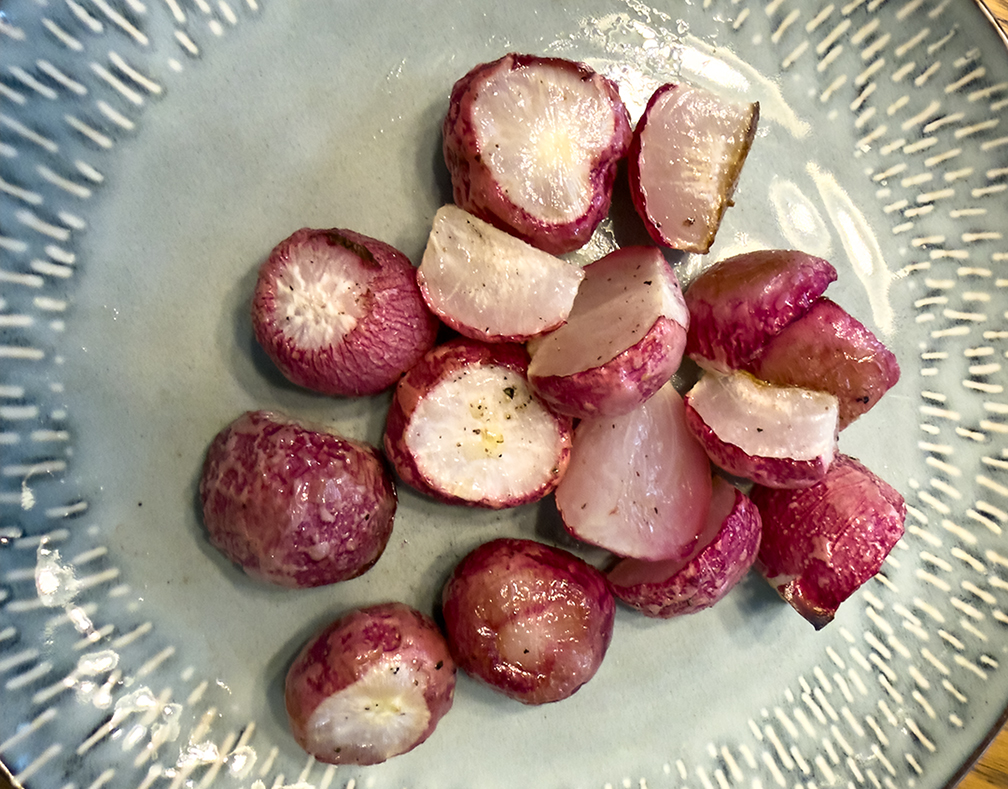
Roasting Radishes
Roasting is another delicious way to prepare radishes. Toss halved or quartered radishes with a high‑temperature oil (olive oil works well), then season with salt, pepper, and any spice you enjoy.
Roast at 425°F for about 30 minutes. High heat caramelizes the exterior and mellows their sharpness, creating a satisfying, low‑carb alternative to roasted potatoes.
Because radishes are high in fiber and sulfur compounds, avoid eating more than ½ cup per serving, as large amounts may cause stomach discomfort.
Plant those radish seeds
It’s not too late to get those radish seeds in the ground and growing before the late spring and summer heat. Get planting!
Comment ( 1 )